

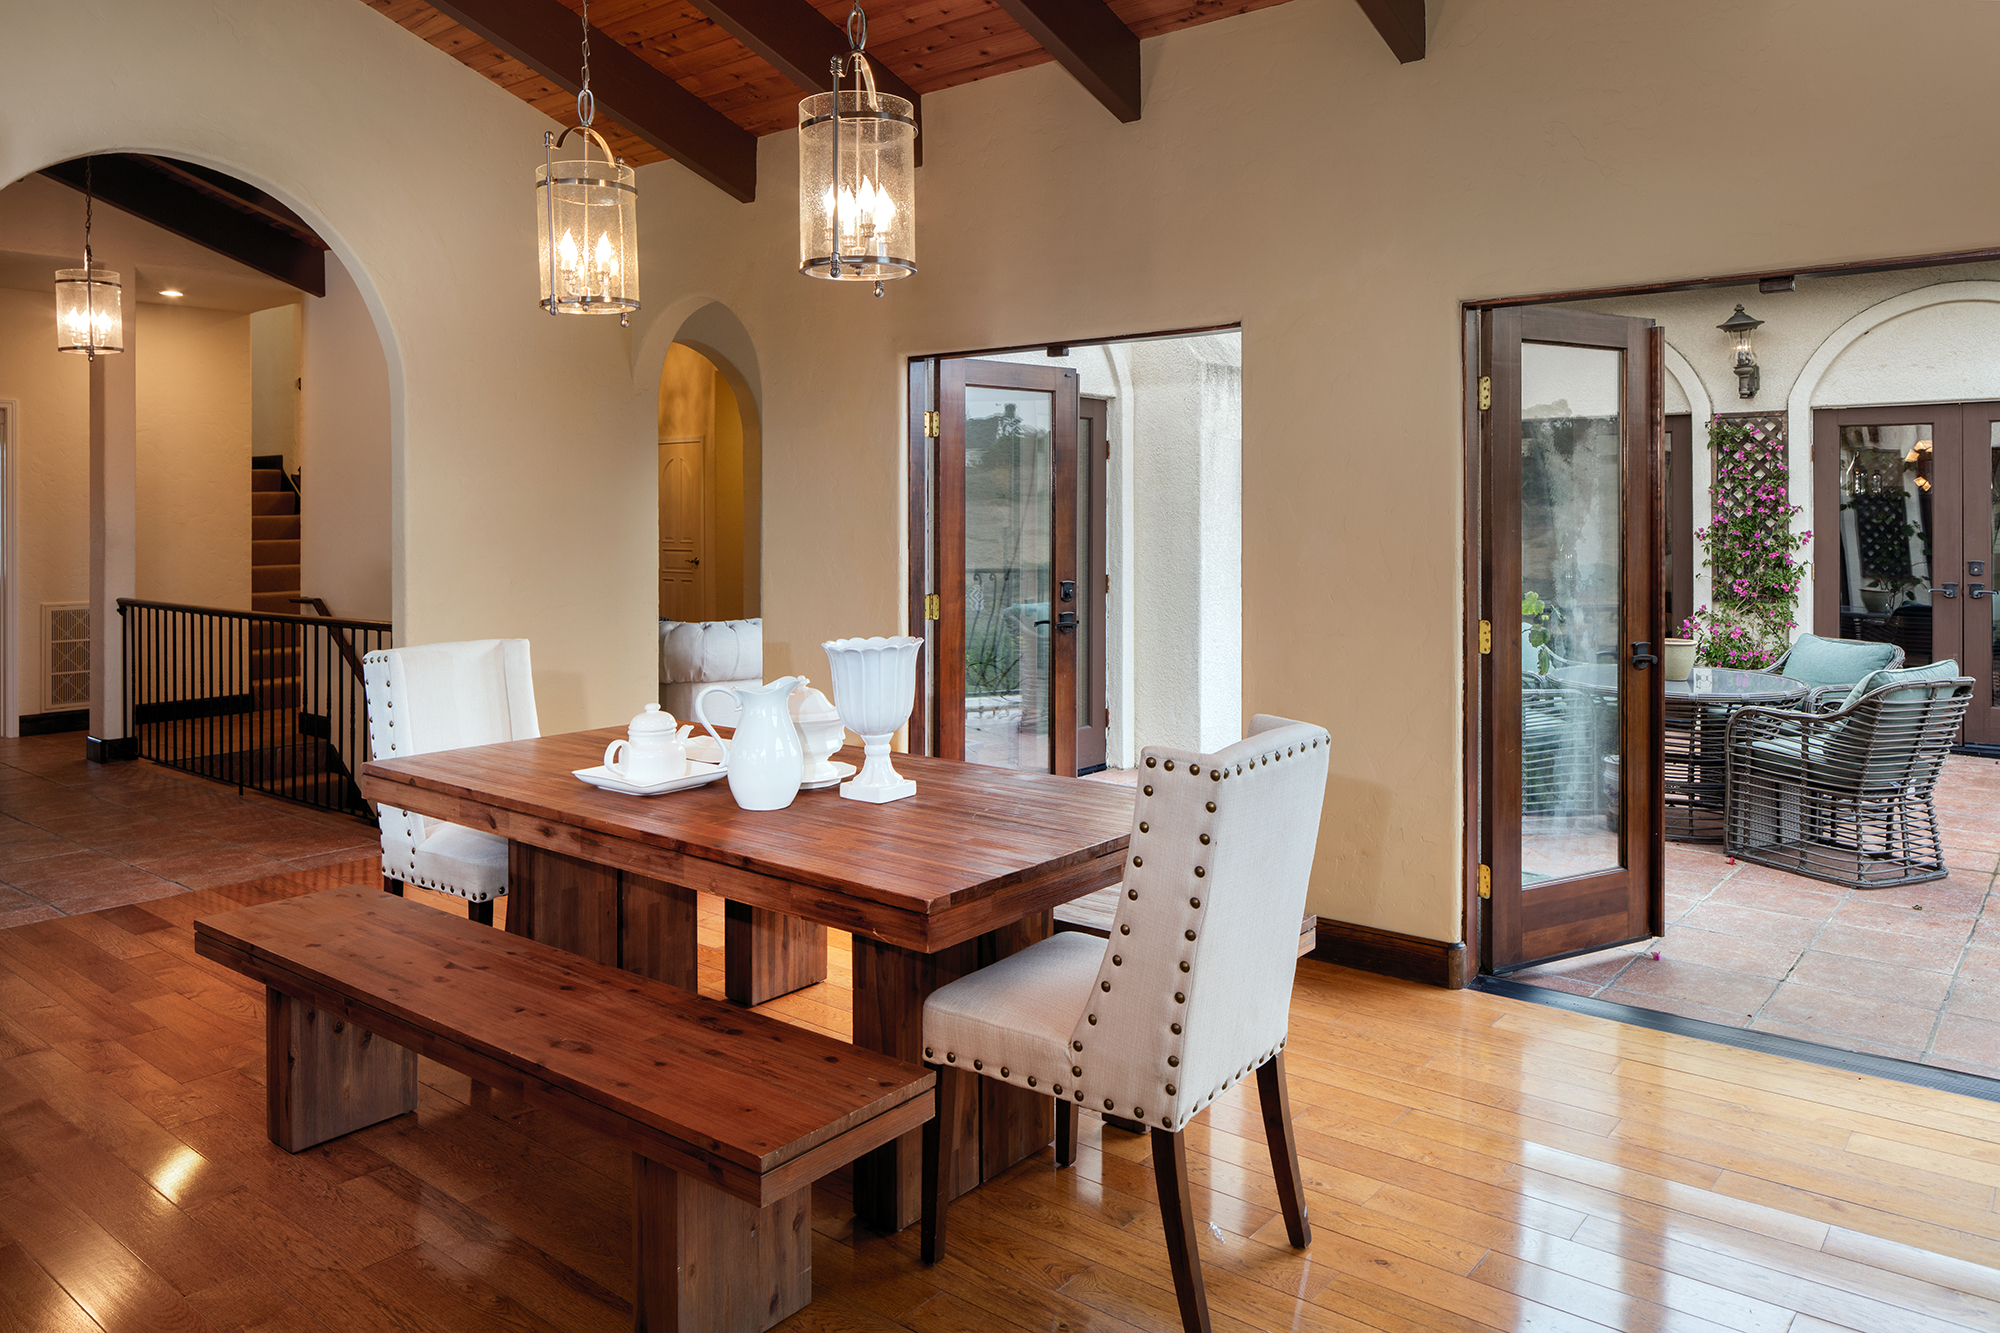
Toe-stubs happen when the transition creates an abrupt height change or a sharp edge. Common causes:
Tile assembly is higher than expected (thinset + tile thickness + membrane)
Hardwood underlayment compresses over time
No transition profile was planned, so someone “makes it work” at the end
Expansion gaps were skipped, causing buckling or pinching
A clean transition is not just cosmetic. It’s a mechanical solution for two materials that expand differently.
Step 1: Measure the Height Difference Correctly
Before choosing a profile, measure from subfloor to finished surface for both sides:
Tile stack-up may include:
Underlayment or uncoupling membrane
Thinset
Tile thickness (often 8–12mm for porcelain)
Grout (minimal height impact)
Hardwood stack-up may include:
Engineered thickness
Adhesive bed (glue-down) or underlayment (floating)
Any leveling compound underlayment
This finished-height math tells you whether you need a flush reducer, a ramped profile, or a protection edge.
Step 2: Choose the Right Transition Profile
1) T-Molding (For Nearly Equal Heights)
Best for: tile and hardwood at similar finished height.
Why it works: bridges the joint and covers expansion gaps.
Watch-outs:
Not ideal for significant height differences
Must be installed with proper expansion spacing for wood
2) Reducer / Ramp (For Tile Higher Than Hardwood)
Best for: tile side higher by a few millimeters up to a noticeable step.
Why it works: creates a gentle slope, reducing trip/toe-stub risk.
Pro tip:
A wide, gradual reducer feels better in socks and bare feet than a narrow one
3) Schluter-Style Metal Profiles (Best for Tile Edge Protection)
Best for: modern look, durable edge protection, clean lines.
Why it works: protects tile edges from chipping and keeps the transition crisp.
Common types:
Square edge profiles for minimalist style
Ramped profiles for uneven heights
Profiles designed for LVT/hard surfaces too
4) Flush Transitions (Premium Look, Requires Planning)
Best for: custom builds or well-planned remodels.
Why it works: reduces visual breaks and feels seamless.
Requires:
Precise height planning
Often leveling compound or adjusted underlayment thickness
Skilled installation to maintain expansion needs
Step 3: Don’t Skip Expansion and Movement Rules
Hardwood needs expansion space. Tile does not move the same way. The transition has to respect wood’s movement.
Key rules:
Maintain required expansion gap at hardwood edges
Use appropriate adhesives/fasteners per profile system
Avoid hard-grouting tight to wood edges (use proper flexible joint where needed)
Step 4: Plan Transitions Where They Make Sense
A good transition is placed intentionally:
At doorways (natural break point)
Under doors or centered under the door slab
At room boundaries where materials change usefully (wet vs dry zones)
Avoid random mid-room transitions unless necessary. If you must do it, use a profile that looks architectural, not like a patch.
At Perennial Studios, we plan transitions before installation day, so you don’t end up with toe-stub surprises or chipped tile edges. Visit Arlington, TX to see real profile samples and compare metal, wood, and reducer options in person. We serve
Arlington, TX, Mansfield, TX, Burleson, TX, Kennedale, TX, or Midlothian, TX
, and our installers can design transitions that match your layout, heights, and lifestyle needs. Want the cleanest, safest switch from tile to hardwood? Contact us for a measurement and install plan.


